Windows: Mapped Network Drive
-
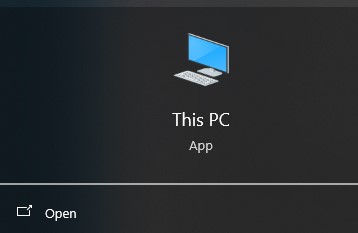
In the search box (lower left), type 'this pc':

-
Click on the 'Open' link in the right panel:
-
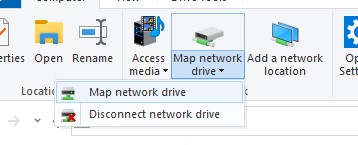
Click the 'Map network drive' icon from the top menu bar, and expand select list:
-
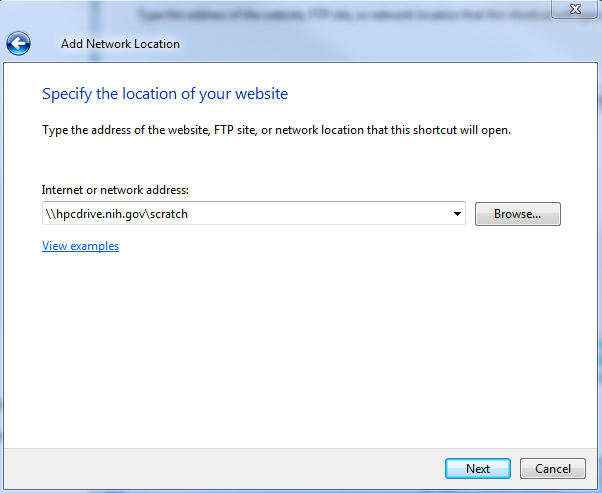
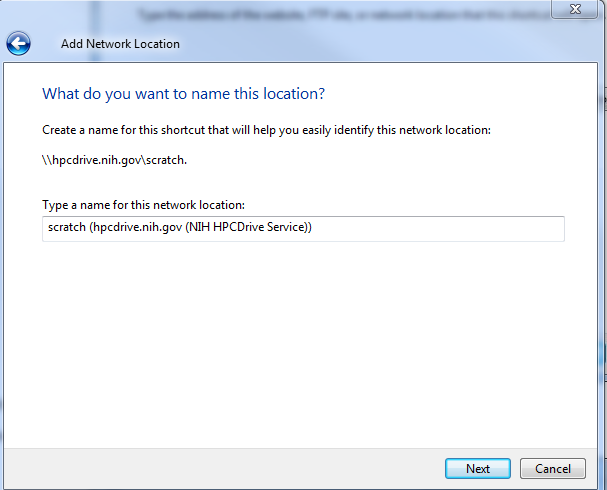
Enter the directory you want to mount as follows:
Directory SMB path Your home directory
/home/[user]\\hpcdrive.nih.gov\[user] Your data directory
/data/[user]\\hpcdrive.nih.gov\data /scratch area \\hpcdrive.nih.gov\scratch Your own /scratch/[user] directory \\hpcdrive.nih.gov\scratch\[user] Shared group area
(e.g./data/PQRlab where you are a member of group PQRlab)\\hpcdrive.nih.gov\name_of_shared_area
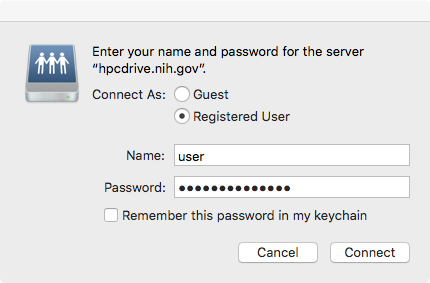
(e.g. \\hpcdrive.nih.gov\\PQRlab)Make sure to replace [user] with your NIH login!!!
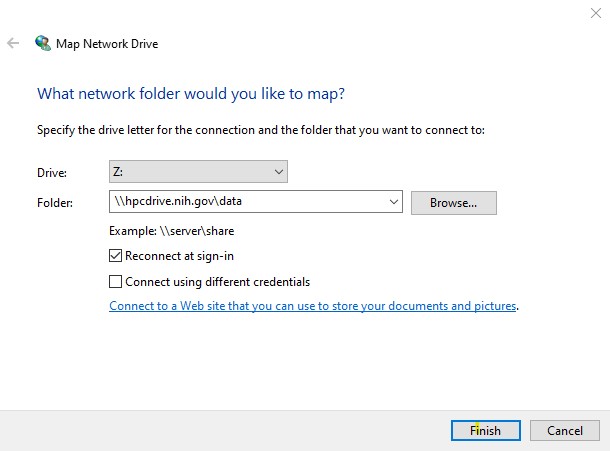
Because the NIH HPC systems are authenticated using NIH Login, you should not have to enter your user or password.
Select 'Reconnect at sign-in' if you wish the directory mount to automatically reconnect every time you restart.
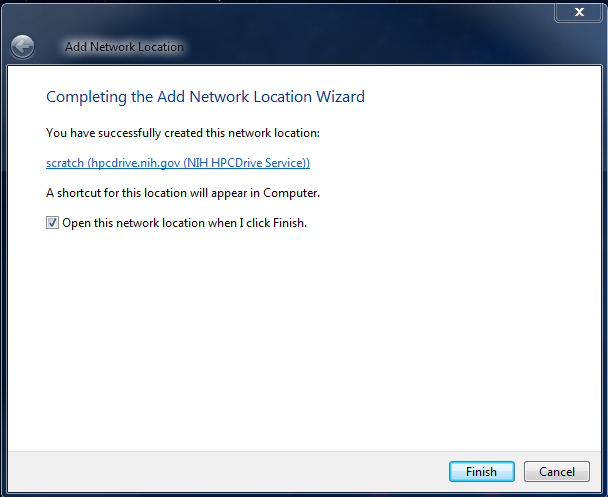
Click the 'Finish' button.
Please note that if you are trying to map hpcdrive from a lab computer on an institute local domain you may have to adjust the login credentials from the institute domain (e.g., NCBT_NT\username) to the global NIH domain (NIH\username) for it to work. You will know this is needed if you are presented with an additional popup saying that the credentials for the drive are invalid and to please provide different credentials.
-
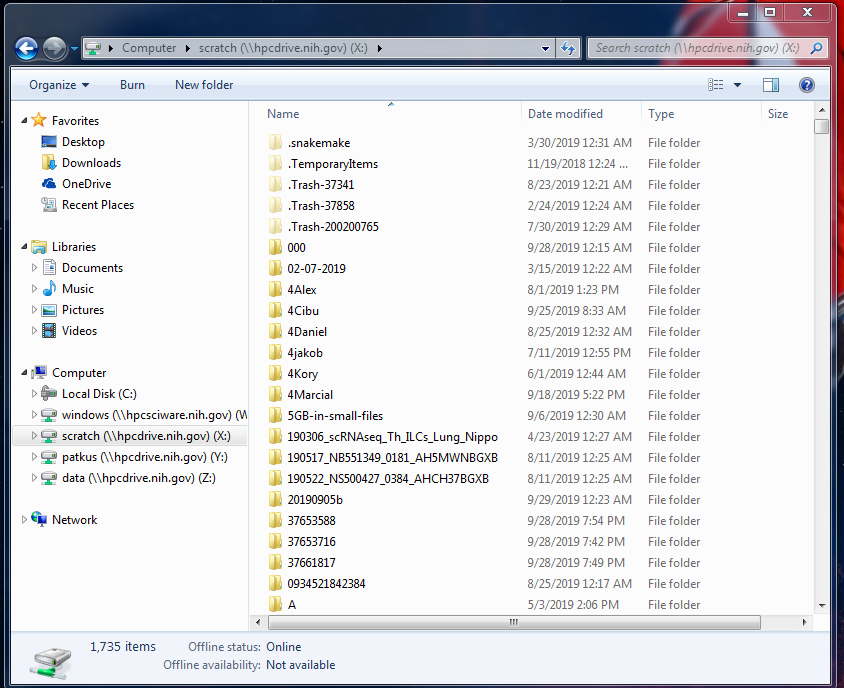
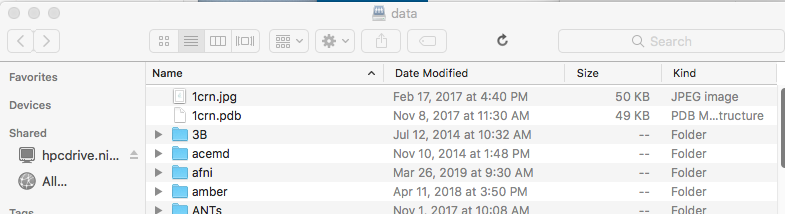
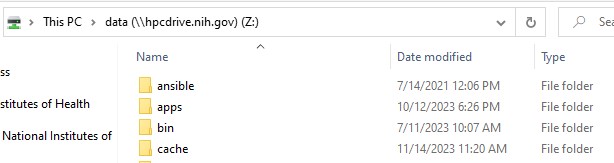
You should see a listing of your directory in the File Explorer panel.
-
You have successfully mapped your HPC directory to your desktop machine! You should see a network icon in the My Computer folder. You can create a shortcut to this drive on your desktop.
-
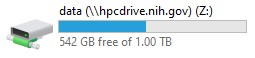
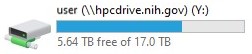
Please note that the disk usage information is not correct for your /home directory, but it is correct for your /data directory.