If you'd like to run an interactive application server (Jupyter, tensorboard, ...) on a compute node, you will need to create a SSH tunnel in order to be able to connect to it from your desktop. This involves forwarding ports in two steps: (1) from your desktop to the Biowulf login node and (2) from the Biowulf login node to the compute node running your server process.
sinteractive supports automatically creating the login-node-to-compute-node leg of the tunnel for you with the -T/--tunnel option, as follows (if you are following the instructions for Jupyter notebook, you can skip this step and continue at the appropriate section for your local platform below):
user@biowulf:~$ sinteractive --tunnel
salloc.exe: Pending job allocation 26710013
salloc.exe: job 26710013 queued and waiting for resources
salloc.exe: job 26710013 has been allocated resources
salloc.exe: Granted job allocation 26710013
salloc.exe: Waiting for resource configuration
salloc.exe: Nodes cn3094 are ready for job

Created 1 generic SSH tunnel(s) from this compute node to
biowulf for your use at port numbers defined
in the $PORTn ($PORT1, ...) environment variables.


Please create a SSH tunnel from your workstation to these ports on biowulf.
On Linux/MacOS, open a terminal and run:

    ssh  -L 45000:localhost:45000 biowulf.nih.gov

For Windows instructions, see https://hpc.nih.gov/docs/tunneling

user@cn3094:~$ echo $PORT1
45000
user@cn3094:~$
Multiple tunnels can be created by repeating the option, in which case the short form is more convenient. So sinteractive -TT will create two tunnels, at port numbers defined in the PORT1 and PORT2 environment variables.
Now, you must create the other leg of the tunnel from your desktop. The sections below explains this procedure for each supported platform. If this desktop tunnel connection drops (or you accidentally close the window) while you are using your application, you can re-establish it the same way without losing anything as long as your Slurm job is still alive.
Consult your application's usage notes for what to do with the tunnel after it's been established.
Open a new shell on your desktop and create a tunnel from your computer to biowulf using the command directed when you ran sinteractive. In this example, it was
(local_computer)$ ssh -L 45000:localhost:45000 biowulf.nih.gov
The reconnect_tunnels tool available on biowulf that makes it
easy to (re)connect all tunnels from your desktop to biowulf for any open
interactive sessions. When run on biowulf it returns an appropriate ssh command
that can be copied and run on your local workstation if you have a OS X, linux,
or Windows 10 PowerShell:
(biowulf)$ reconnect_tunnels
#### INFO: 1 tunnels set up
ssh  -L 45000:localhost:45000 biowulf.nih.gov
On OS X or linux workstations, you can set up an alias on your local machine to make (re)connectiong tunnels a single step process.
(local_computer)$ alias tun='$(ssh biowulf.nih.gov /usr/local/slurm/bin/reconnect_tunnels)'
(local_computer)$ tun
...
(biowulf)$
There are multiple recommended methods for Windows depending on what software is available. The OpenSSH/Powershell method is the most straightforward if it is available on your machine.
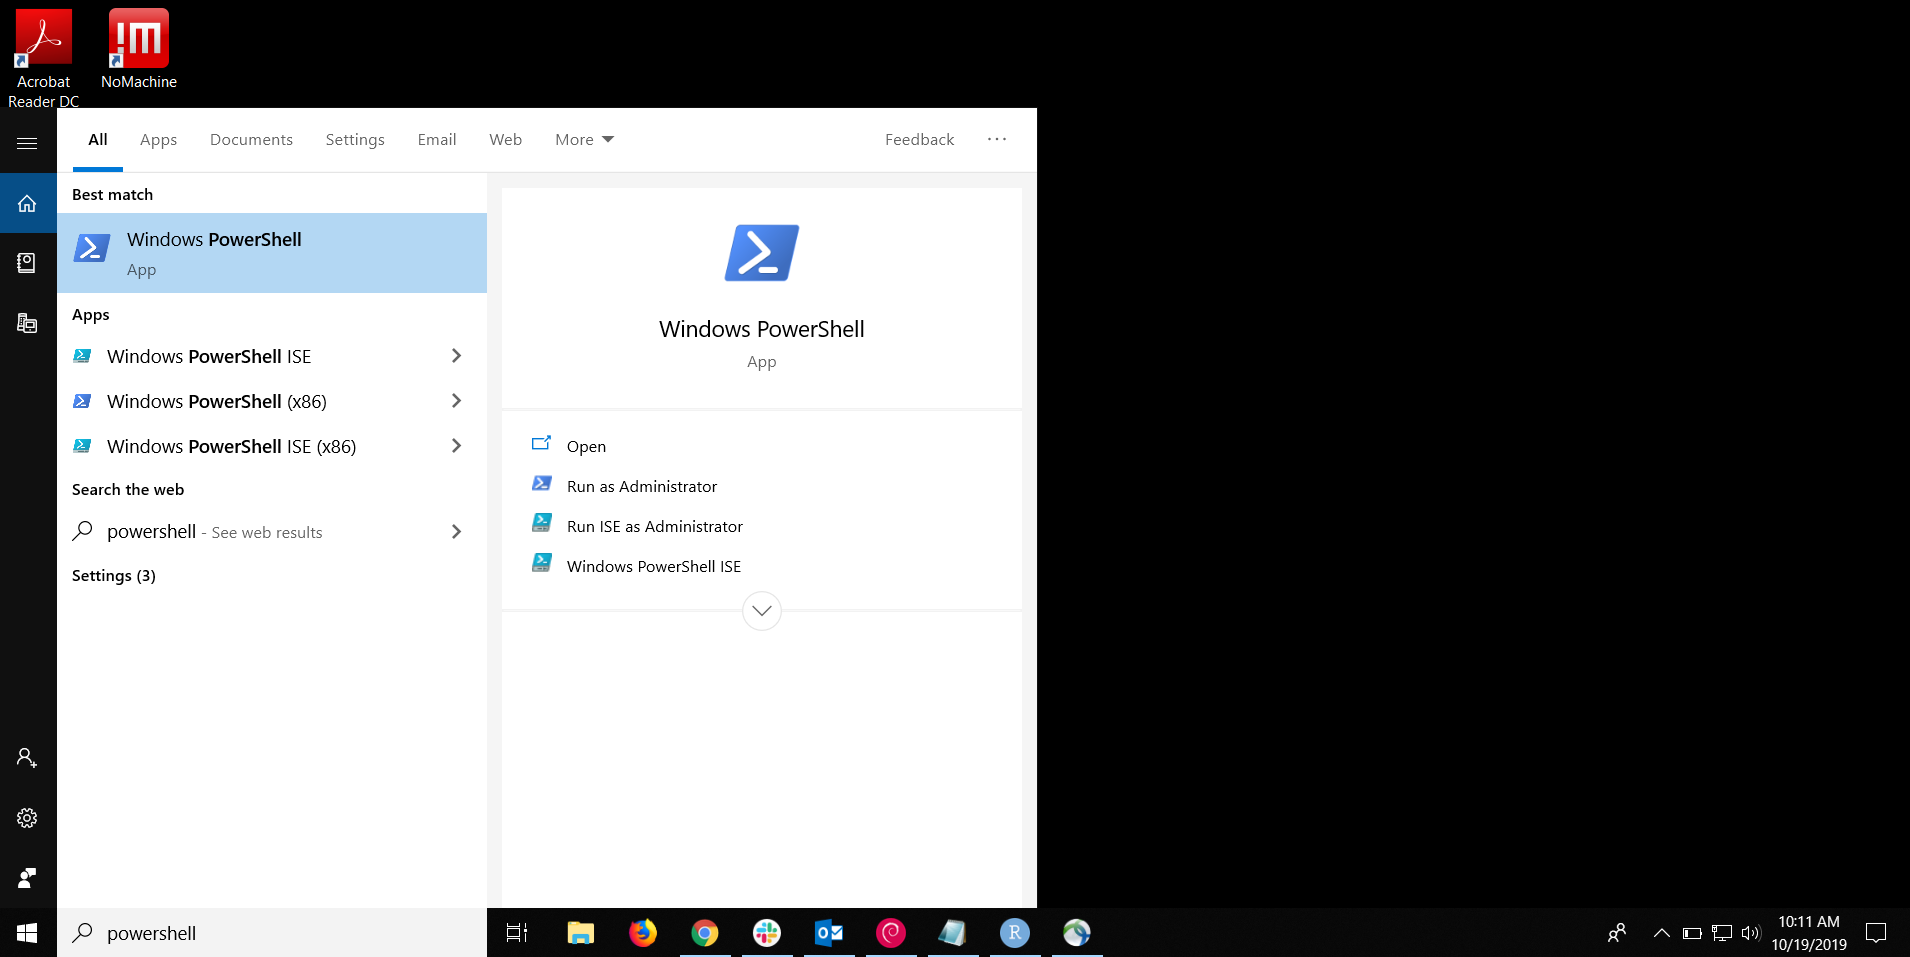
Current builds of Windows 10 include OpenSSH by default, although it may be disabled. You can open a PowerShell window from the Windows Start Menu

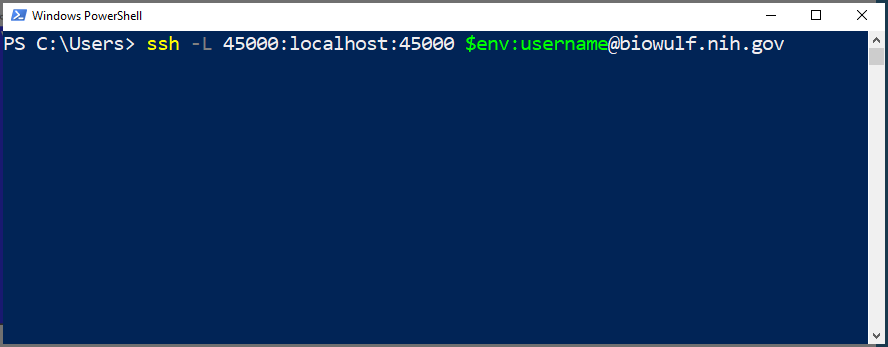
and use the same ssh command from sinteractive or reconnect_tunnels can be used as described above for OS X or linux.

WSL allows the installation of linux distributions on Windows 10. If you have WSL enabled/installed on your system, you can use the linux SSH client as described above to set up tunnels from your local machine to biowulf. Please ask your local desktop support about WSL.
If your Windows machine does not have OpenSSH built-in or you otherwise prefer PuTTY, you can create the tunnel from your local machine to Biowulf with PuTTY instead.


login: user
password:
[user@biowulf]$