FragPipe is a Java Graphical User Interface (GUI) and CLI workflow tool for a suite of computational tools enabling comprehensive analysis of mass spectrometry-based proteomics data. It is powered by MSFragger - an ultrafast proteomic search engine suitable for both conventional and “open” (wide precursor mass tolerance) peptide identification.
This application requires a graphical connection. Please use a Graphical Session on HPC OnDemand
First, start a graphical desktop session. Within your session, allocate an interactive session and run fragpipe.
Sample session (user input in bold):
[user@biowulf]$ sinteractive
salloc.exe: Pending job allocation 46116226
salloc.exe: job 46116226 queued and waiting for resources
salloc.exe: job 46116226 has been allocated resources
salloc.exe: Granted job allocation 46116226
salloc.exe: Waiting for resource configuration
salloc.exe: Nodes cn3144 are ready for job

[user@cn3144 ~]$ module load fragpipe

[user@cn3144 ~]$ fragpipe
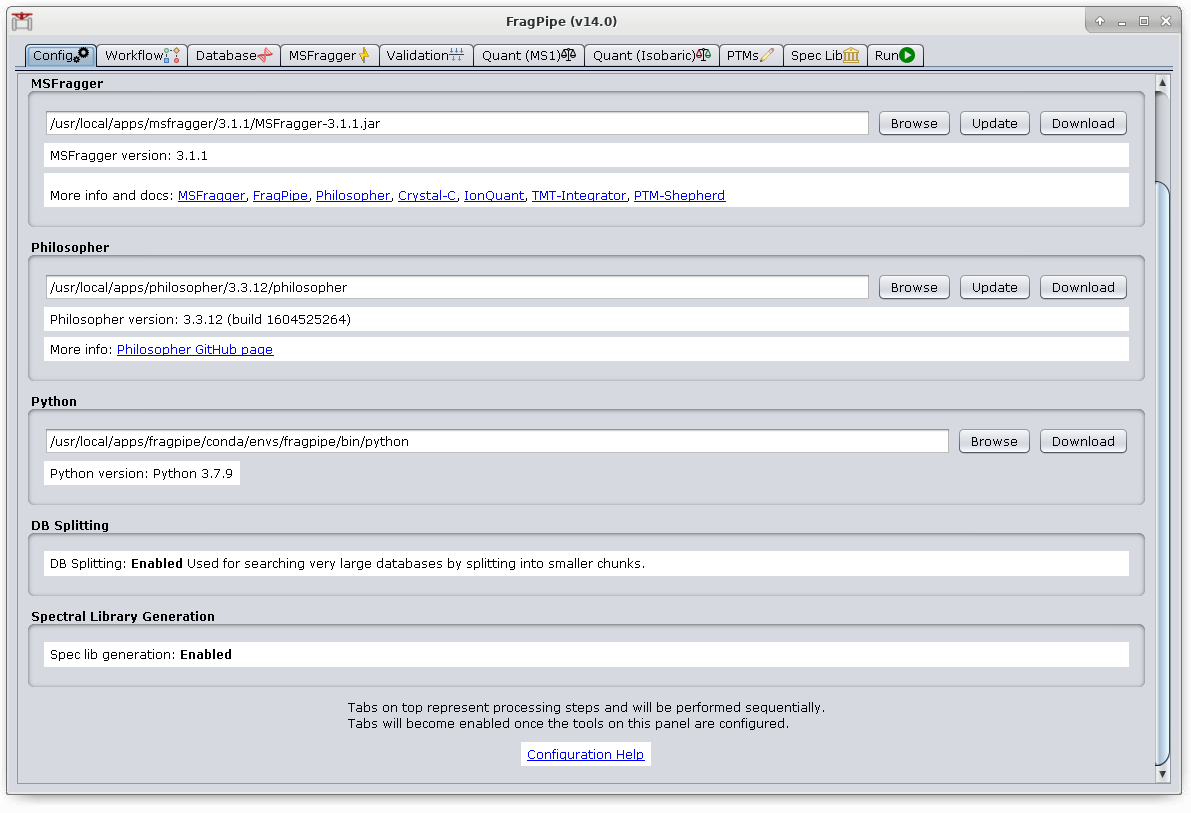
You should now see the Java Graphical User Interface (GUI).

If you run fragpipe from this central location, you will be unable to save data (like newly created pipelines) and recover them in a new session. You can copy fragpipe to your own space using the following commands or similar:
[user@cn3144]$ module load fragpipe

[user@cn3144]$ export INSTALL_DIR=/data/${USER}/fragpipe

[user@cn3144]$ mkdir -p $INSTALL_DIR && cd $INSTALL_DIR

[user@cn3144]$ tar xvf $FRAGPIPE_TAR
These steps need only be carried out once. In future sessions fragpipe will already be installed in your space. You can now run it using the full path (where <ver> is the version of fragpipe that you copied). Fragpipe and associated tools require some extra modules that are loaded as prerequisites for the fragpipe module (Java, Dotnet, etc). You need to load these in every session for Fragpipe to run correctly, and may do so most easily by loading the matching fragpipe module for your installation.
[user@cn3144]$ module load fragpipe/<ver>
[user@cn3144]$ /data/${USER}/fragpipe/<ver>/bin/fragpipe
Or you can add the directory to your path to open more easily. It is important to export the PATH variable after loading the module, or you will run the centrally-installed version instead.
[user@cn3144]$ module load fragpipe/<ver>
[user@cn3144]$ export PATH=/data/${USER}/fragpipe/<ver>/bin:$PATH

[user@cn3144]$ fragpipe
In either case, your saved data will now persist across sessions.
When running fragpipe from your own space, it's still a good idea to load the fragpipe module first to properly prepare your environment.
FragPipe versions 18.0+ may now be run in headless mode to submit as part of an interactive or batch job.
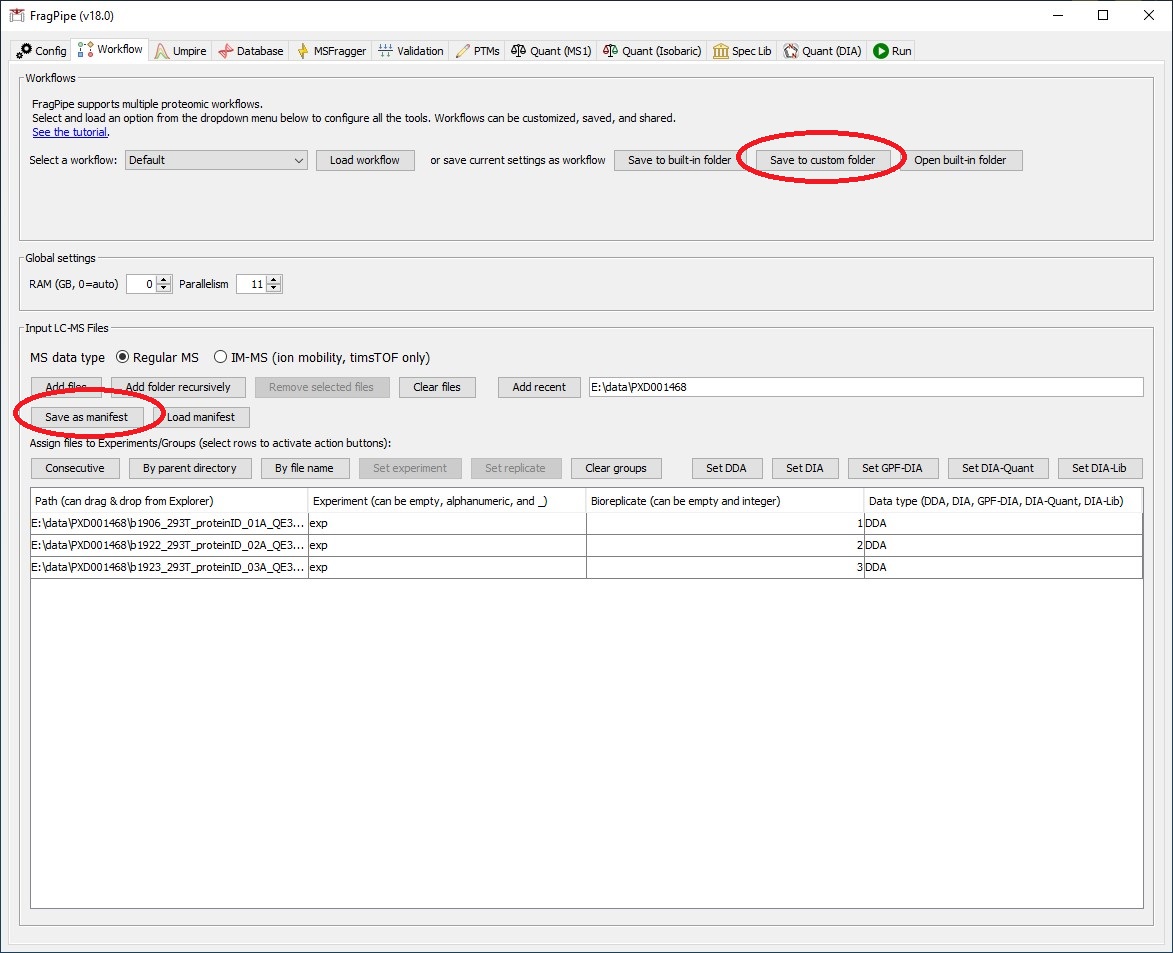
Workflow and manifest files should be created using the GUI either in an interactive session or on your own computer.

Create a batch input file (e.g. msfragger.sh). For example:
#!/bin/bash
set -e
module load fragpipe/18.0
cd /path/to/data/and/conf

fragpipe --headless \
  --workflow <path to workflow file> \
  --manifest <path to manifest file> \
  --workdir <path to result directory>